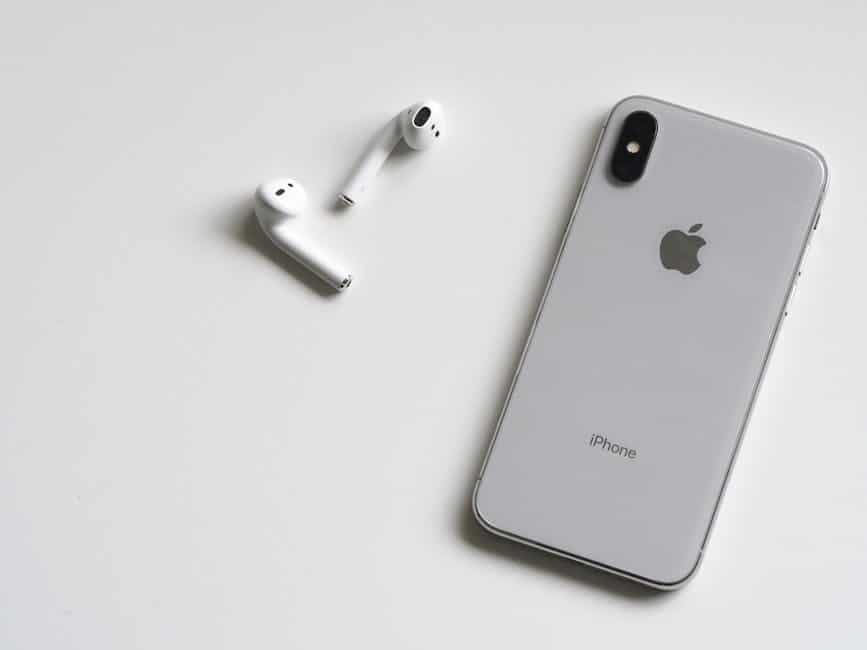
Are you trying to learn how to use your AirPods? If yes, you should check out our AirPods guide here on everything you need to know.
AirPods are some of the hottest earbuds on the market. They are a device that is futuristic and incredibly popular. They can also be difficult to figure out for those who aren’t tech-savvy.
If you’re someone who has no idea on how to use your AirPods, you’re in the right place. Below we have created the ultimate AirPods guide. When you’re done with it, you’ll know exactly how to connect your AirPods to your devices, customize them, and use voice commands. Let’ get started!
Step 1: Charge Your AirPods
If your AirPods aren’t charged then they won’t work. It’s as simple as that.
To charge your AirPods you will need to use your charger. Each AirPods kit (which is included in the original box) comes with a wall charger to charge your case. Keep in mind that the case does, in fact, charge your earbuds but it’s no use to you if the case isn’t charged.
If you have a charging dock that allows you to charge your devices by laying them on top it can also work with your AirPods case. You just need to make sure it’s compatible by taking a quick look at your charger’s manual or doing a quick online search.
Step 2: Pair Your Airpods
There are two different ways to pair your AirPods. You can connect them to your Apple devices (such as your iPhone, Mac, or iPad) or to non-Apple devices. Below we have outlined how to do a few pairings for your convenience.
Step 2.1: Pairing Your Airpods To Your iPhone or iPad
To pair your AirPods with your iPhone or iPad, make sure they are sitting within the charging case with the lid closed. Then place the case next to the device you’d like to connect to.
Unlock your device and open the lid on the charging case. Your device will then have a pop-up asking if you’d like to connect. All you have to do is tap the done button and your AirPods will be connected to either your iPhone, iPad, or both.
Step 2.2: Pairing Your Airpods To Your Mac
To pair AirPods to Mac make sure your AirPods case is closed and sitting near your Mac. Then proceed to the apple menu in the top-left menu bar from your desktop.
Scroll down to System Preferences and click. Your preferences will open in a new window and give you multiple options to set preferences for your Mac.
From here you will select the Bluetooth menu. Make sure to turn Bluetooth on and let it search for devices. While your Mac is searching for Bluetooth enabled devices, open the case’s lid and press and hold the setup button on the front of the case.
Your Mac will then find your AirPods and they will appear in the menu as a device to connect with. Select the pair button and then start listening to your Mac with your AirPods.
Step 2.3: How To Pair AirPods On Non-Apple Devices
One of the nice things about AirPods is that they aren’t only compatible with Apple products. If you have an Android or any other non-Apple device you can connect and use your AirPods with ease.
We are going to give you a general idea of how to connect your AirPods with non-Apple devices. Keep in mind that every device is different and could have more steps when it comes to paring successfully with your AirPods.
You will need to make sure your AirPods are in the case, closed, and near the device you’re trying to connect with. Navigate to the Bluetooth settings on the device you would like your AirPods to connect with.
Select the option to pair a new device and your device should start looking for items to connect with. While your device is searching for things to connect with, open your AirPods case and press and hold the small button on the front of the case.
The status light should flash white on the AirPods case while you’re holding in the button. Now your AirPods should appear on the list of connectable items for your device. Select your AirPods to connect.
Step 3: Use Your AirPods To Control Your Apple Devices
After pairing your AirPods successfully with any of your Apple devices you will be able to command certain actions and control your devices with just your voice.
Step 3.1: Siri Commands
You can use your AirPods to perform actions on your device is by using Siri. The way to get Siri’s attention depends on which generation of AirPods you’re using. For first-generation AirPods, just double-tap the left or right AirPod.
Keep in mind that you can change your AirPod settings to disable Siri and the double tapping option. If you try double-tapping and Siri doesn’t respond, check your settings.
Second-generation AirPods come configured with hands-free Siri. This means that you just need to say, “Hey Siri,” for your AirPods to launch the artificial intelligence interface. Just like above, you can change settings for this to be disabled so you should check your settings if the voice command isn’t working.
Now that you have activated Siri you can tell her to do things such as play a specific song or mute your device. You can also ask about the battery life on your AirPods, or even ask for directions to a certain venue. This is just a handful of the voice commands you can say to Siri.
Step 4: Easily Check Your AirPods Battery Life
You have been playing around with your AirPods for a few minutes now and may be curious how much battery has been drained during the connectivity process. The best thing about AirPods when they are connected to an Apple device is that you can easily check the battery life on your screen with just the flip of opening the case. Once the case is open the battery level will appear on your Apple device.
Step 5: Customize Your AirPods To Your Needs
Now that you’ve connected your AirPods to your device and have had some time to play around and test them out, you can customize them to your listening needs. If you’re not a fan of the Siri double tap response you can change this to an action that would better suit your use.
To change the double-tap action, start by proceeding to the Bluetooth section of your device and selecting your AirPods from the list. Another menu will open that will show you the double-tap feature for both the right and left earbuds. You will just need to select which earbud you would like to change.
After selecting the earbud you want to change you will be taken to another list of actions you can choose from. Select which action you would like the double tap to be and you’re all set.
Another way you can customize your AirPods is by changing their display name. If you live in a house where more than one person has a set of AirPods it may be a good idea to name each one so you know where you’re music will be outputting from.
To change your AirPods name go to the Bluetooth menu and select your AirPods from the list. Like above you will be redirected to another menu where you can customize the name of your AirPods.
Step 6: Clean Your AirPods After Each Use
After using your AirPods for a while, you should consider cleaning them. If you’re someone who doesn’t want to clean them after every use we recommend at least once a week. Keeping your AirPods clean will lengthen the lifetime of your device and ensure you always have the best sound quality.
To clean your AirPods properly you must ensure you are being delicate. Follow these steps to clean your device efficiently and carefully:
- Buff and polish the surface with a microfibre cloth.
- Use a Q-tip to clean the small crevices of your AirPods and to clean out any wax and dust.
- If you’re having trouble getting wax out with a Q-tip try using mounting putty such as Blue-Tak.
Step 7: Use This Ultimate AirPods Guide To Enjoy!
We have provided you with the ultimate AirPods guide so you can use your new AirPods efficiently. From teaching you how to pair your AirPods to giving you tips on how to properly clean them, you should be an AirPods pro.
For more music news, tips, and information be sure to check out the rest of our website.